
Jamie Oliver’s “15 minute” crispy chicken Caeser salad
I was asked to bring a salad to lunch this past weekend, and decided it was the perfect opportunity to try out one of the recipes in Jamie Oliver’s 15 Minute Meals book.

Having a few other plans for the weekend already (as I am wont to do), I was after something that seemed fairly simple to make in terms of the ingredients list and anticipated time required (because I’ve never completed one of his 15 minute meals in 15 minutes!), yet sounded delicious for a summer BBQ lunch. I decided upon the crispy polenta chicken Caeser salad on page 50 of my book.
Now, I don’t really have the time to source fancy ingredients that aren’t readily available, nor do I have the inclination to buy something I’ll only use once and then store in my already bursting-at-the-seams pantry for the next 10 years. This is why I love Jamie Oliver recipes in the first place. More often than not, he uses ingredients that are either already in your pantry, or if not, easily found at your local supermarket.
Armed with a photo of the ingredients list, I poked my head into my pantry to see what I already had, before heading off to my local Coles to pick up the extras. What I ended up with bears little resemblance to Jamie’s original recipe, but maintains the general flavours, and can easily be adapted to what you have in your pantry. In the interest of copyrights, the recipe I’ll be providing is what I ended up using and doing. And because I think the individual components can be adapted for other dishes, I’ll provide the ingredients and method separately for each.
CRISPY CHICKEN CAESER SALAD (serves 4-6 as a side)
Ingredients for the chicken:
2x 200g skinless chicken breasts
1/2 tsp paprika
2 tbsp farina di mais (literally, flour from corn, or cornmeal, which is what I had in my pantry instead of polenta)
Olive oil
Method for the chicken:
1. Lay a large sheet of baking paper on your kitchen counter and place your chicken breasts on top and in the middle, ensuring there’s enough paper to wrap the chicken up later.
2. Season both sides of the chicken with salt and pepper, and the paprika.
3. Coat the chicken on all sides with the cornmeal. At this stage, your chicken should look somewhat like the photo below. Apologies for the shadows. I really didn’t have much time to get this done and the laundry before I headed over to my friend’s house.

4. Wash your hands, and while they’re clean, place a large frying pan on the stove at medium heat and add a splash of olive oil.
5. Wrap your chicken up. It doesn’t have to be tight but make sure all 4 sides are pulled in or you’ll end up with messy chicken bits and spices flying all over your kitchen.
6. Grab a rolling pin and bash the chicken until it’s about 1.5cm thick. This part is immensely satisfying!
7. The oil should now be hot enough to place your chicken into the frying pan. Cook each side until they’re golden, roughly 4 minutes each side.
Ingredients for the dressing:
1 clove of garlic
2 lemons
40g Parmesan cheese
4 anchovy fillets
4 tbsp natural yogurt
1 splash vino cotto (this was my substitute for Worcestershire sauce)
1 tbsp Chardonnay verjuice (my substitute for red wine vinegar)
1 tsp yellow mustard
1/2 bunch fresh basil, washed
Method for the dressing:
1. Crush the garlic clove with the flat of your blade, using the palm of your hand to press down firmly on the flat of the blade. I find this is the best way to remove the skin from garlic. It should pop right out. Trim the brown end and toss the garlic clove into your Thermomix or food processor.
2. Juice the lemons, pick out the seeds and pour them into your Thermomix or processor.
3. Crumble in the Parmesan and throw in the remaining ingredients.
4. Blitz until your desired consistency. I had mine on Speed 7, 4 seconds.
Ingredients for the salad:
1 ciabatta loaf (optional: 1 clove of garlic)
1 witlof (original recipe called for 2 red chicory, but I couldn’t find chicory and when I tried witlof raw, I decided I didn’t like the bitterness, so ended up only using 1 of them)
4 slices of prosciutto (because Coles did not stock pancetta)
1 baby cos lettuce (Jamie specified 2 romaine lettuces, which I couldn’t find, and my bowl was looking pretty full with just 1 lettuce chopped, so I left out the other one)
10 cherry tomatoes
2 large red peppers from a jar (they’re called piquillo peppers)
Splash of balsamic vinegar
1/3 punnet of snow pea shoots, washed (couldn’t find cress and decided I didn’t like the raw taste of the snow pea shoots very much, so only used 1/3 of the punnet)
Extra shaved Parmesan if desired
Method for the salad:
1. Place a griddle pan on high heat and a frying pan on medium heat.
2. Cut 4 thick slices of ciabatta. Place them on your griddle pan. Keep an eye on it while you’re assembling your salad. You want nice grill marks on both surfaces but not charcoal.

3. Meanwhile, place your prosciutto into the frying pan. You really need to keep an eye on this one as prosciutto is quite thin and browns very quickly. It has its own oil so you don’t need to add any. In fact, I actually did my prosciutto right at the start and used the same pan to cook the chicken breasts. That way, the chicken has more flavour and you don’t need to add as much olive oil.
4. Peel the leaves off the witlof, wash and toss with some balsamic. This will take away some of the bitter taste.
5. Roughly chop, wash and spin the lettuce. When dry, tip it all into a large salad bowl.
6. Arrange the witlof leaves on top.
7. Wash and halve the cherry tomatoes then throw on top of the salad.
8. Slice the peppers and throw them on too.
9. Your chicken should be cooked by now. Slice it and lay that on top of the salad.
10. Drizzle some of your dressing over the chicken. Just a couple of tablespoons will do, so the chicken absorbs some of the flavour.
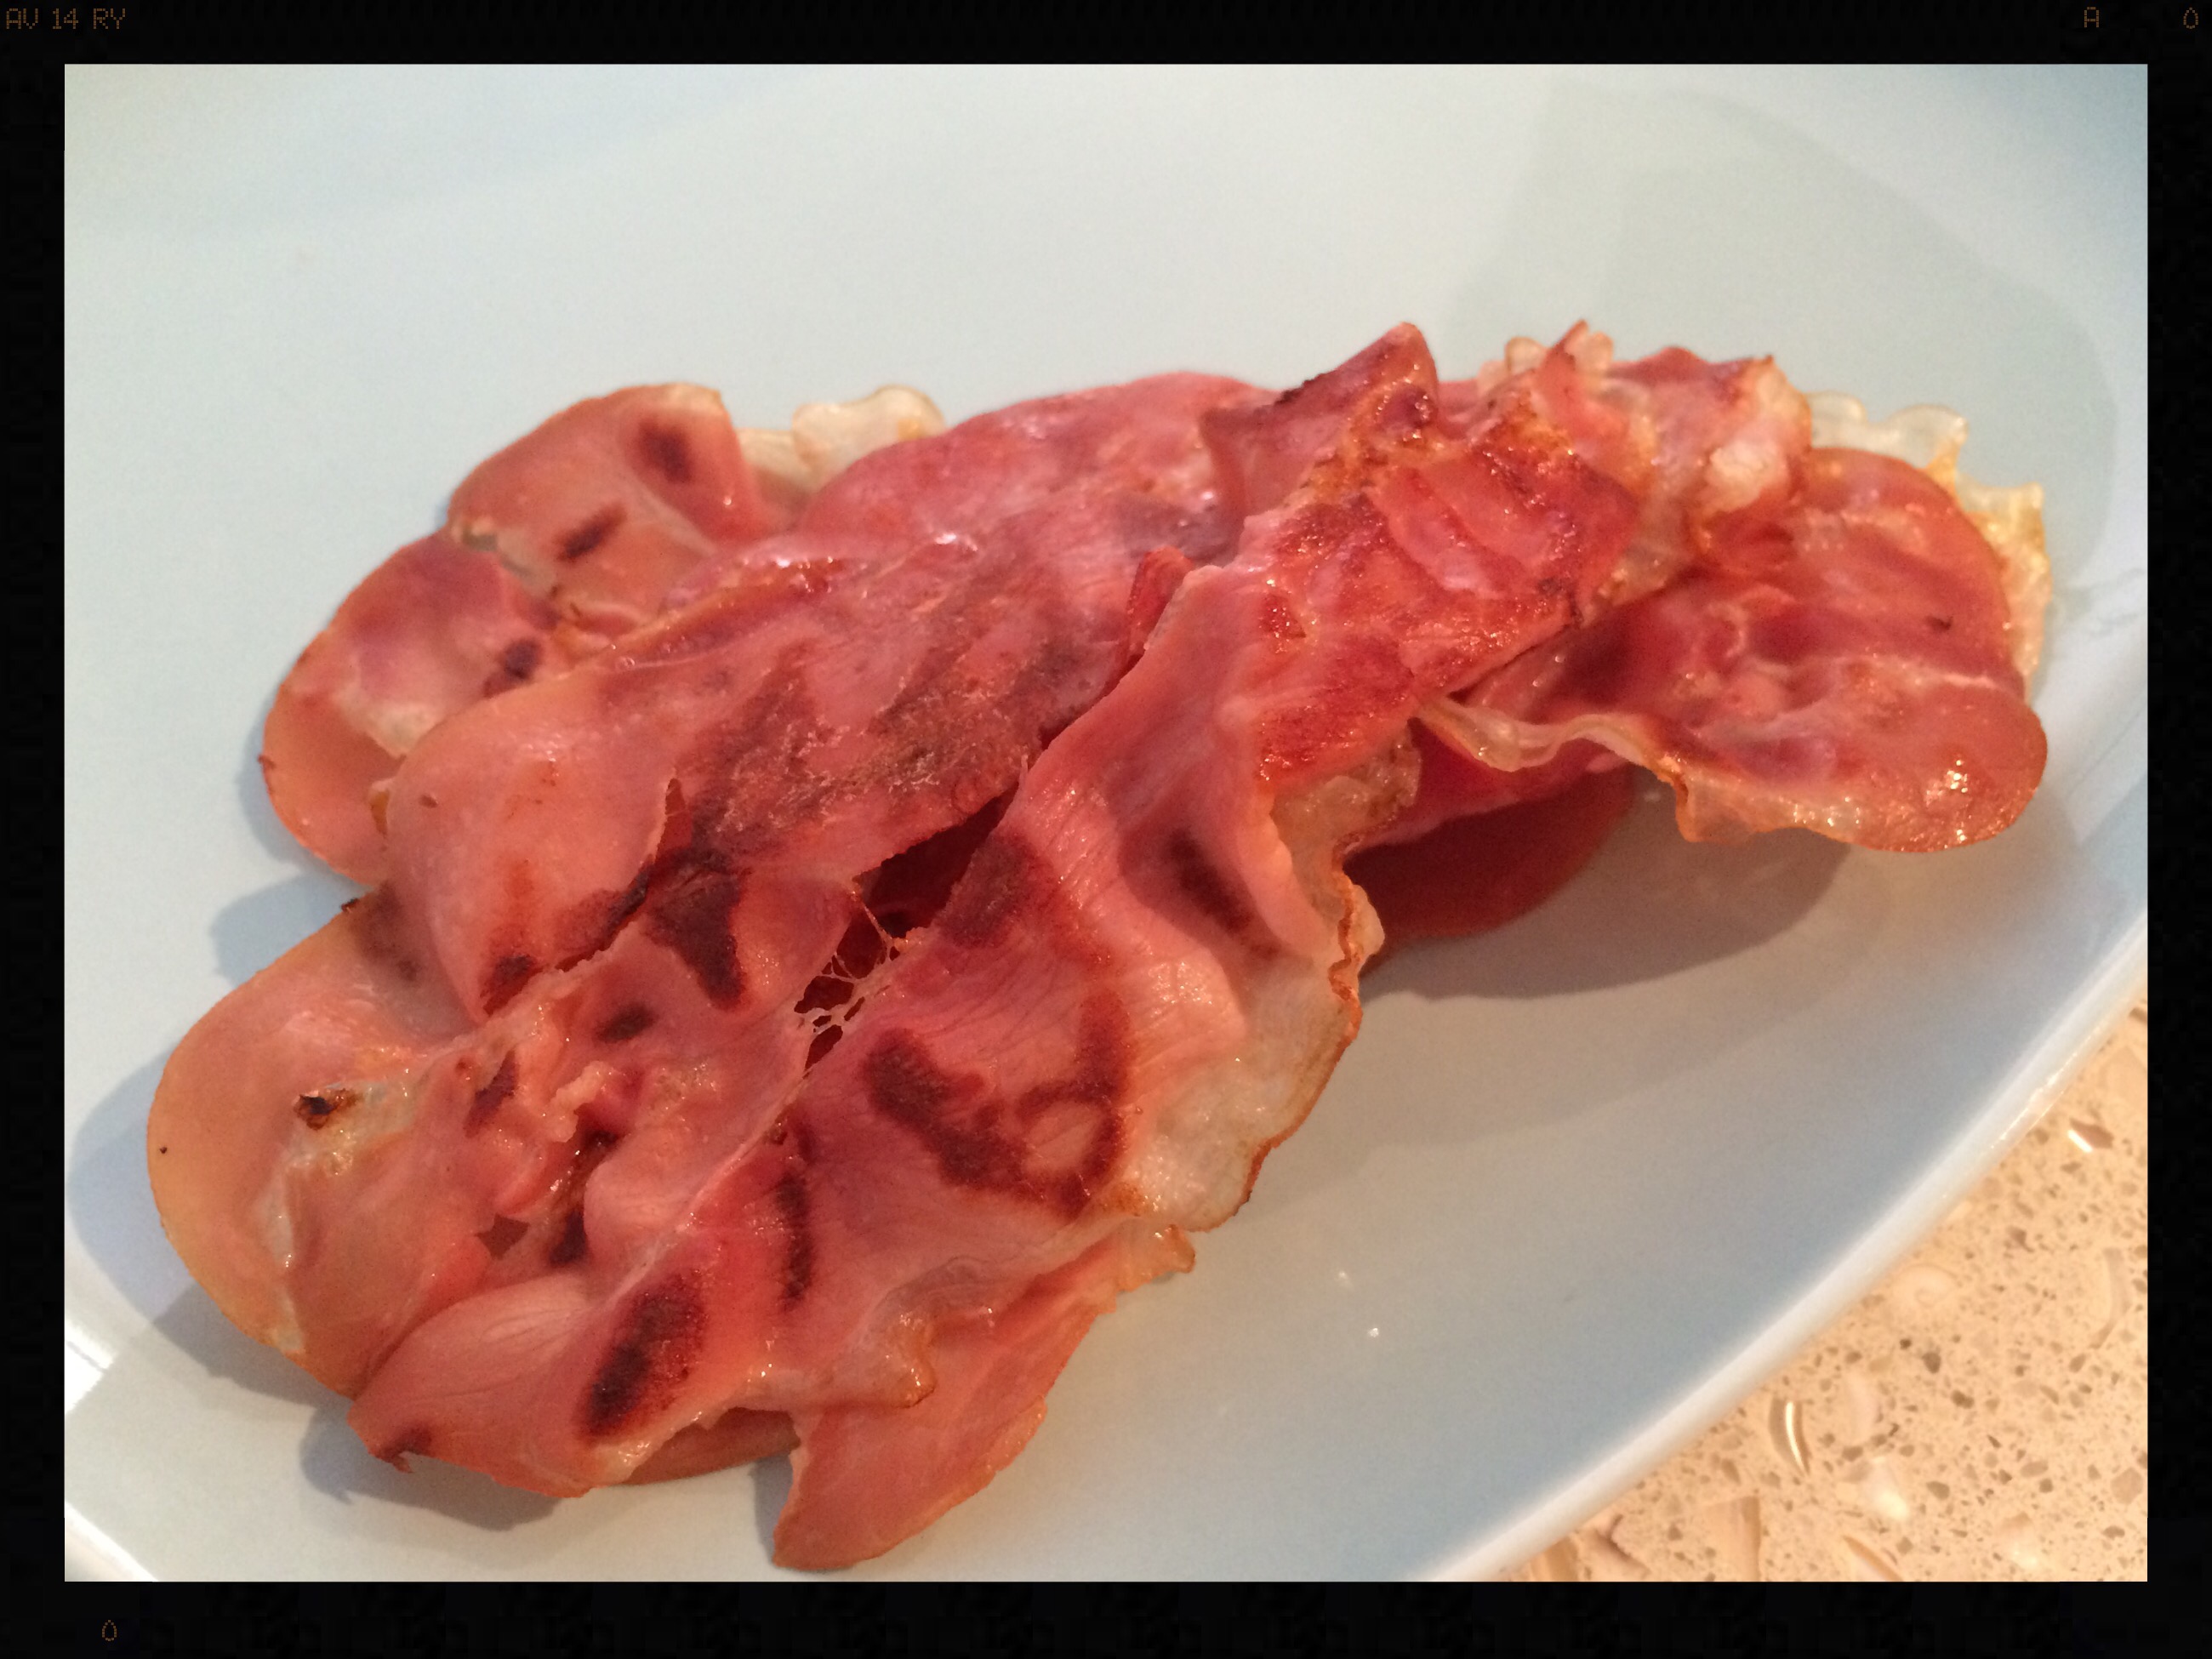
11. Use kitchen scissors to cut your browned prosciutto (see photo) into slices over the top of the chicken.
12. Cut your ciabatta slices into soldiers and lay them over the top of your salad. One step I had actually forgotten was to rub the optional garlic clove over the hot ciabatta slices before cutting them up. I’m sure this would have added more flavour, but wasn’t really necessary.
13. Use your kitchen scissors again to cut a handful of snow pea shoots into 1/3 or 1/4 lengths over the top of your salad, depending on what you think is a manageable length. And here’s the finished product before steps 14 and 15, ready for me to place the lid of my Pyrex bowl on top for transport. I really should have take a photo with the chicken slices and ciabatta soldiers on top before I covered them with the snow pea shoots, but you get the idea. I cut the chicken slices roughly the same size as the ciabatta soldiers.

14. You may choose to top your salad with extra shaved Parmesan.
15. Just before serving, pour over as much or as little of the remaining dressing as you like.
Verdict:
I’m ashamed to say I took almost an hour to get this done! Maybe because I knew I was short on time. I don’t know about you, but I find that it’s exactly when I need to be quick and efficient that I become scatterbrained and all over the place instead. I had to keep reading and re-reading the instructions, which was why I ended up forgetting to take more photos. OK, I had a few text messages and phone calls to respond to, and I tend to wash up as I go along unlike Jamie wreaking havoc in his kitchen, but even if you take those interruptions into account, I would say I took around 45 minutes to make this dish.
But what did it taste like?
I don’t know about the others, but I thought it was great! A healthier, more sophisticated take on the traditional Caeser. I mean, we’re talking prosciutto instead of bacon! The chicken actually had a nice crunch to it, and is something I would definitely make again in the future as a healthy main course for myself with a salad on the side, or as an addition to a different salad. The ciabatta soldiers also added another lovely crunch element. I don’t know why I’ve never thought to use my griddle pan to make my own croutons before. It’s so easy! And finally, the dressing was well balanced between salty and tart flavours, whilst the basil added a pleasant aroma. The yogurt provided creaminess, yet was much lighter than your usual Caeser salad dressings. I chose not to over-blitz the dressing as I liked having tiny but still discernible chunks of garlic and Parmesan. I think this dressing would also work well in a wrap for lunch.
Speaking of lunch, what did I do with my leftover cos lettuce and dressing?

I’d seen these salads in a jar for lunch before and decided it was high time I tried it myself. So I poured the remaining dressing into a large jar, topped it up with some balsamic vinegar, then layered carrot slices on top. The hard elements provide a barrier between the dressing and the leaves. Next I plopped in the remaining chicken slices, a few Parmesan shavings, and finally the cos lettuce and some cherry tomatoes. Place the lid on, and when you’re ready to eat, give it all a good shake and tip out into a bowl. Or you could try eating straight out of the jar, I suppose.
As for my remaining witlof and snow pea shoots? I made a simple stir fry for dinner the next night, with some garlic, more chicken, a carrot, a chilli and some garlic prawn seasoning I found at the back of my pantry. It actually tasted pretty good! The cooked witlof lost its bitter taste, and I decided I actually quite like snow pea shoots when they’re cooked, as they seem to retain their firm consistency quite well.

What’s the longest you’ve ever taken to make a “15 minute meal”? Am I just completely inept for taking 45 minutes to an hour? What other ideas do you have for a salad in a jar? Do share!
If you enjoyed this post, please click “like” or “follow”.

Travelling Omnomnivore
![]()
Promote your Page too


Yum!
LikeLiked by 1 person
It sure was! I hope to try more recipes from that book 🙂
LikeLiked by 1 person